Email Templates
In the Templates screen, select Email from the Delivery Channel options

Once selected, you will view all the created and stored Email Templates in the platform.
Creating a New Email Template
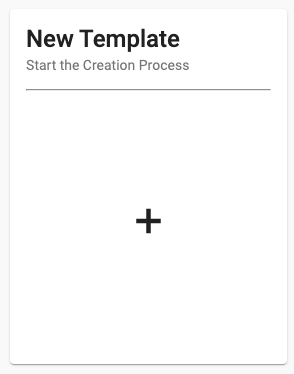
To create a new Email Template, click on the New Template Card to start the Template Creation process.
 |
The Email Template Creator will open.
 |
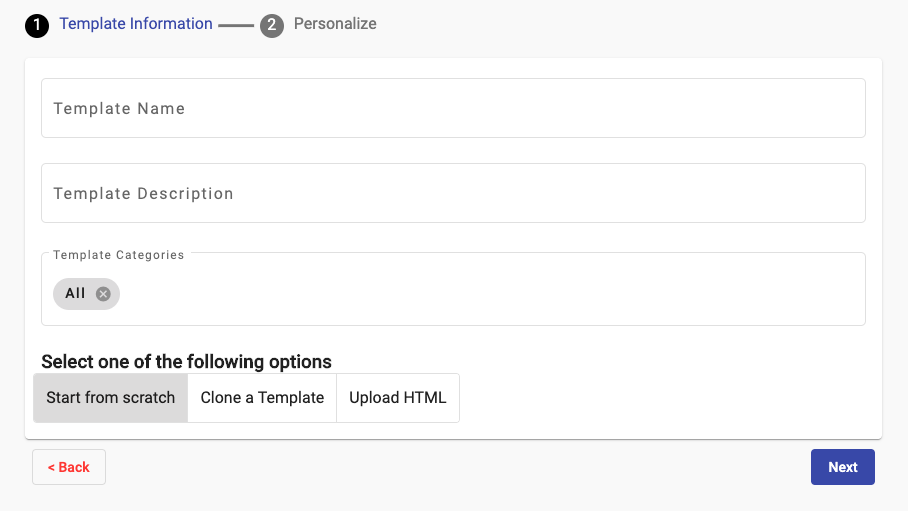
Enter the following information for the new Template:
Template Name
Template Description
Add a Template Category
To add Template to a Category, select one from the dropdown list. You may add more than one Category per Template.
Select one of the following options for the Creation of the Email Content:
Start from Scratch
Clone a Template
Upload HTML
If the user does not enter the Email Template Name and Description, a message is displayed mentioning the template field that the user needs to enter. By not entering a name or description field, it is not allowed to create the New Email Template.
For example, if the user does not enter the description of the New Email Template, a warning message will be displayed at the bottom of the screen.
Start from Scratch
Select this option if you wish to create the Email content from scratch using our Email Editor.

Click the Next button to continue to the Email Editor
Clone a Template
Select this option if you wish to clone an existing Template to use as a base, this will open the selected Template in the Email Editor where you can make any changes.
Select the Template that you wish to Clone from the Carousel, if it is avariable .
If there are no templates available, a message will be displayed that there are no templates available to be cloned.
Once you have selected the desired Template to clone, a preview will be shown under the selected template.
Click Next and the selected Template will open in the Email Editor.
Upload HTML
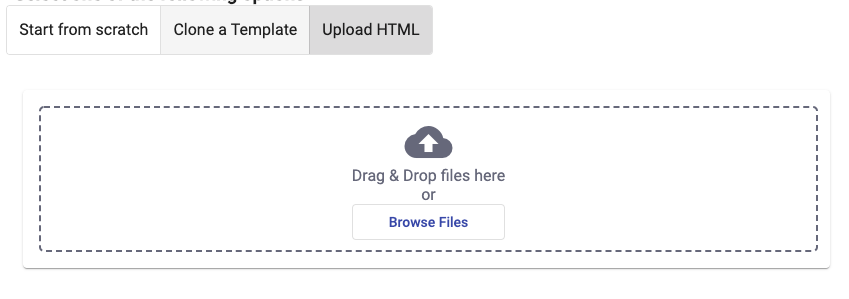
Select this option if you wish to upload an Email HTML file to use to create the Template.

Drag and Drop or click Browse Files to upload your HTML file in the displayed box.
Once uploaded, a Preview of the HTML file will be rendered and all detected ‘Assets’ (images, videos) will be listed on the left hand side.
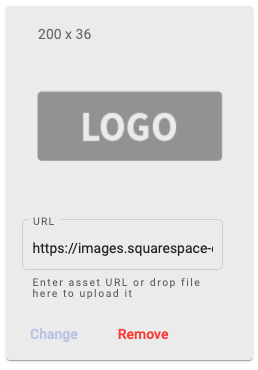
For all the Assets detected inside of the HTML file, you will have the option to enter a public URL for the asset location or upload the asset’s file from local.

In this example, a ‘logo’ image with the size of 200 x 36px has been detected to be used inside of the HTML file.
Once you have reviewed all detected Assets, click on the Next button where the uploaded HTML will be opened in the Email Editor.
When all desired changes have been made to the Email content in the Email Editor, click on the Save button and a confirmation message will display that the Template has been created.