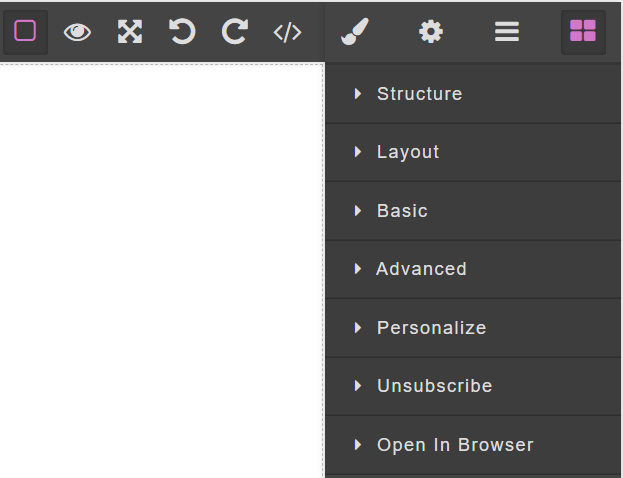
Top Menu
The top Menu has a number of functions to assist in creating the Email content.
These are the following available Actions in the top Menu:

View Components
Preview Email
View Content in Fullscreen
Undo
Redo
Edit in HTML Code
Open Style Manager
Settings
Open Layer Manager
Content Blocks
View Components
To view each component individually placed into the Email Template, select the View Components icon (  ).
).
Preview Email
Before the user sends the Email to his recipients, he can check the full view of the Email Template by selecting the Preview Email icon (  ).
).
View Content in Fullscreen
The user can view the content of the Email Editor in full screen by selecting the Fullscreen icon (  ).
).
Undo
To reverse the last action, select the Undo icon (  ).
).
The user can reverse more than one action.
Redo
To reverse the last undo, select the Redo icon (  ).
).
The user can reverse more than one action that has been undone.
Edit in HTML Code
The user can edit the Email Template in HTML and CSS code by selecting the Edit icon (  ).
).
Each component that is placed into the Email Body will update the HTML and CSS code.
Open Style Manager
To customize spacing, positioning, color, font, size, background color, border, and more select a block and Open Style Manager icon (  ).
).
Settings
To set a title and an identifier (Id) to each block, select a block and Settings icon (  ).
).
Open Layer Manager
To view each component that has been placed into the Email body, select the Open Layer Manager icon (  ).
).
When the user wants to view a specific block in the Open Layer Manager panel, select the desired block and the block that was selected will be marked.
Content Blocks
By selecting the Blocks icon (  ), the Email content’s structure and layout can be created.
Use the Drag and drop Blocks to insert them into the Email Body.
The Blocks of the Email content’s structure are the following:
Structure
Layout
Basic
Advanced
Personalize
Unsubscribe
Open in Browser
 |
Structure
The structure blocks allow you to organize and personalize the structure of the Email components.
By clicking on the Structure section, you will view three structure block options:
Header
Section
Footer
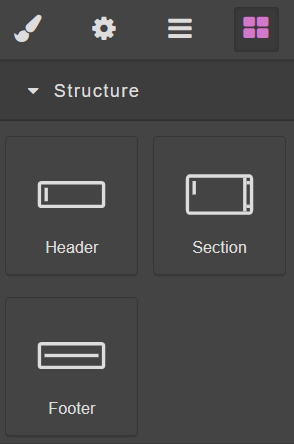 |
Header Block
By selecting the Header block and dropping it into the Email Template, it will add a header at the top of the Email body.
Section Block
By selecting the Section block and dropping it into the Email Template, it allows the user to create sections into the Email body.
Footer Block
By selecting the Footer block and dropping it into the Email Template, it will add a footer into the Email body.
Layout
The Layout Blocks allow you to divide the Email Body into different types of sections.
By clicking on the Layout section, you will view four layout block options:
1 Section
1/2 Section
1/3 Section
3/7 Section
 |
1 Section Block
By selecting the 1 Section block and dropping it into the Email Template, it allows the user to segment the Email body in one section.
1/2 Section Block
By selecting the 1/2 Section block and dropping it into the Email Template, it allows the user to segment a section into two equal parts.
1/3 Section Block
By selecting the 1/3 Section block and dropping it into the Email Template, it allows the user to segment a section into three equal parts.
3/7 Section Block
By selecting the 3/7 Section block and dropping it into the Email Template, it allows the user to segment a section into three-sevenths.
Basic
The Basic Blocks allow you to create and enter the message information to the Email Body.
By clicking on the Basic section, you will view six basic block options:
Button
Divider
Text
Image
Link
Link Block
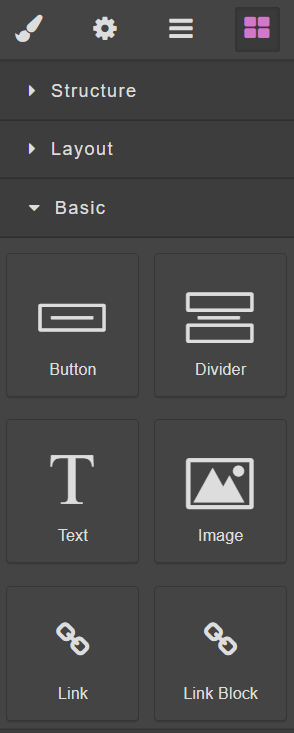 |
Button Block
By selecting the Button block and dropping it into the Email Template, it allows the user to set a button with its corresponding settings.
Divider Block
By selecting the Divider block and dropping it into the Email Template, it allows the user to divide the Email Body into sections.
Text Block
By selecting the Text block and dropping it into the Email Template, it allows the user to enter a text message to the Email Body.
Image Block
By selecting the Image block and dropping it into the Email Template, it allows the user to attach an image to the Email Body.
Link
By selecting the Image block and dropping it into the Email Template, it allows the user to jump to a new location.
Link Block
By selecting the Link Block block and dropping it into the Email Template, it allows the user to jump from one site to another through a block, navigating between different pages.
Advanced
The Advanced blocks allow you to select pre-established blocks including grids, texts, lists and items.
By clicking on the Advanced section, you will view four advanced block options:
Text Section
Quote
Grid Items
List Items
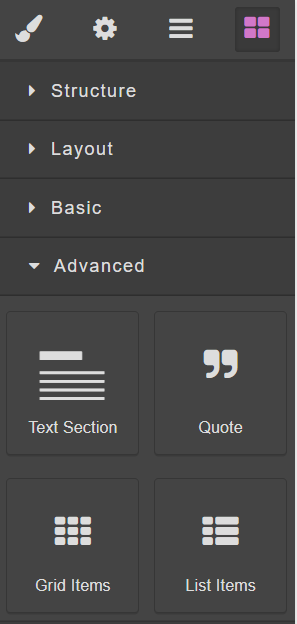 |
Text Section Block
By selecting the Text Section block and dropping it into the Email Template, it allows the user to insert the title and text to the Email Body.
Grid Items Block
By selecting the Grid Items block and dropping it into the Email Template, It allows the user to place grids divided into sections, which can be inserted images, titles and texts.
List Items Block
By selecting the List Items block and dropping it into the Email Template,it allows the user to place items in list format, which can be inserted images, titles and texts.
Personalize
Create the Email content with personalized fields to each Recipient by using the Personalize Blocks.
By clicking on the Personalized section, you will view the available Fields that are obtained from the Subscriber List Fields.
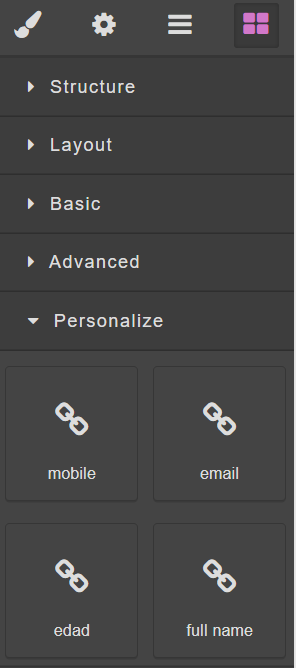 |
For example, if the ‘Name’ Field is dropped into the Email, all Emails will be delivered to the Recipients with the Name obtained from the Subscription List Field used.
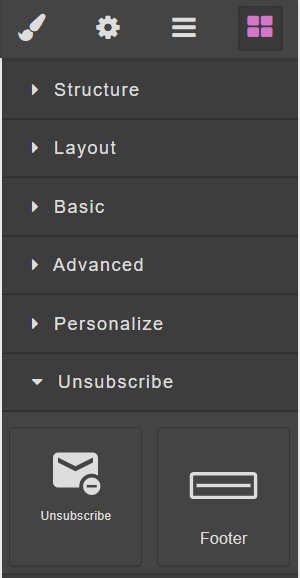
Unsubscribe
In Email Delivery, Subscribers are allowed to Unsubscribe in order to stop receiving Emails and be added to the Blacklist.
By clicking on the Unsubscribe section, you will view two unsubscribe block options:
Unsubscribe
Footer
 |
Unsubscribe Block
By selecting the 'Unsubscribe' block and dropping it into the Email template, it will add an Unsubscribe link to the Email.
This will present the option to the Recipient to Unsubscribe and stop receiving emails from the Broadcasts.
The 'Unsubscribe' block has a preset message, that can be easily modified:
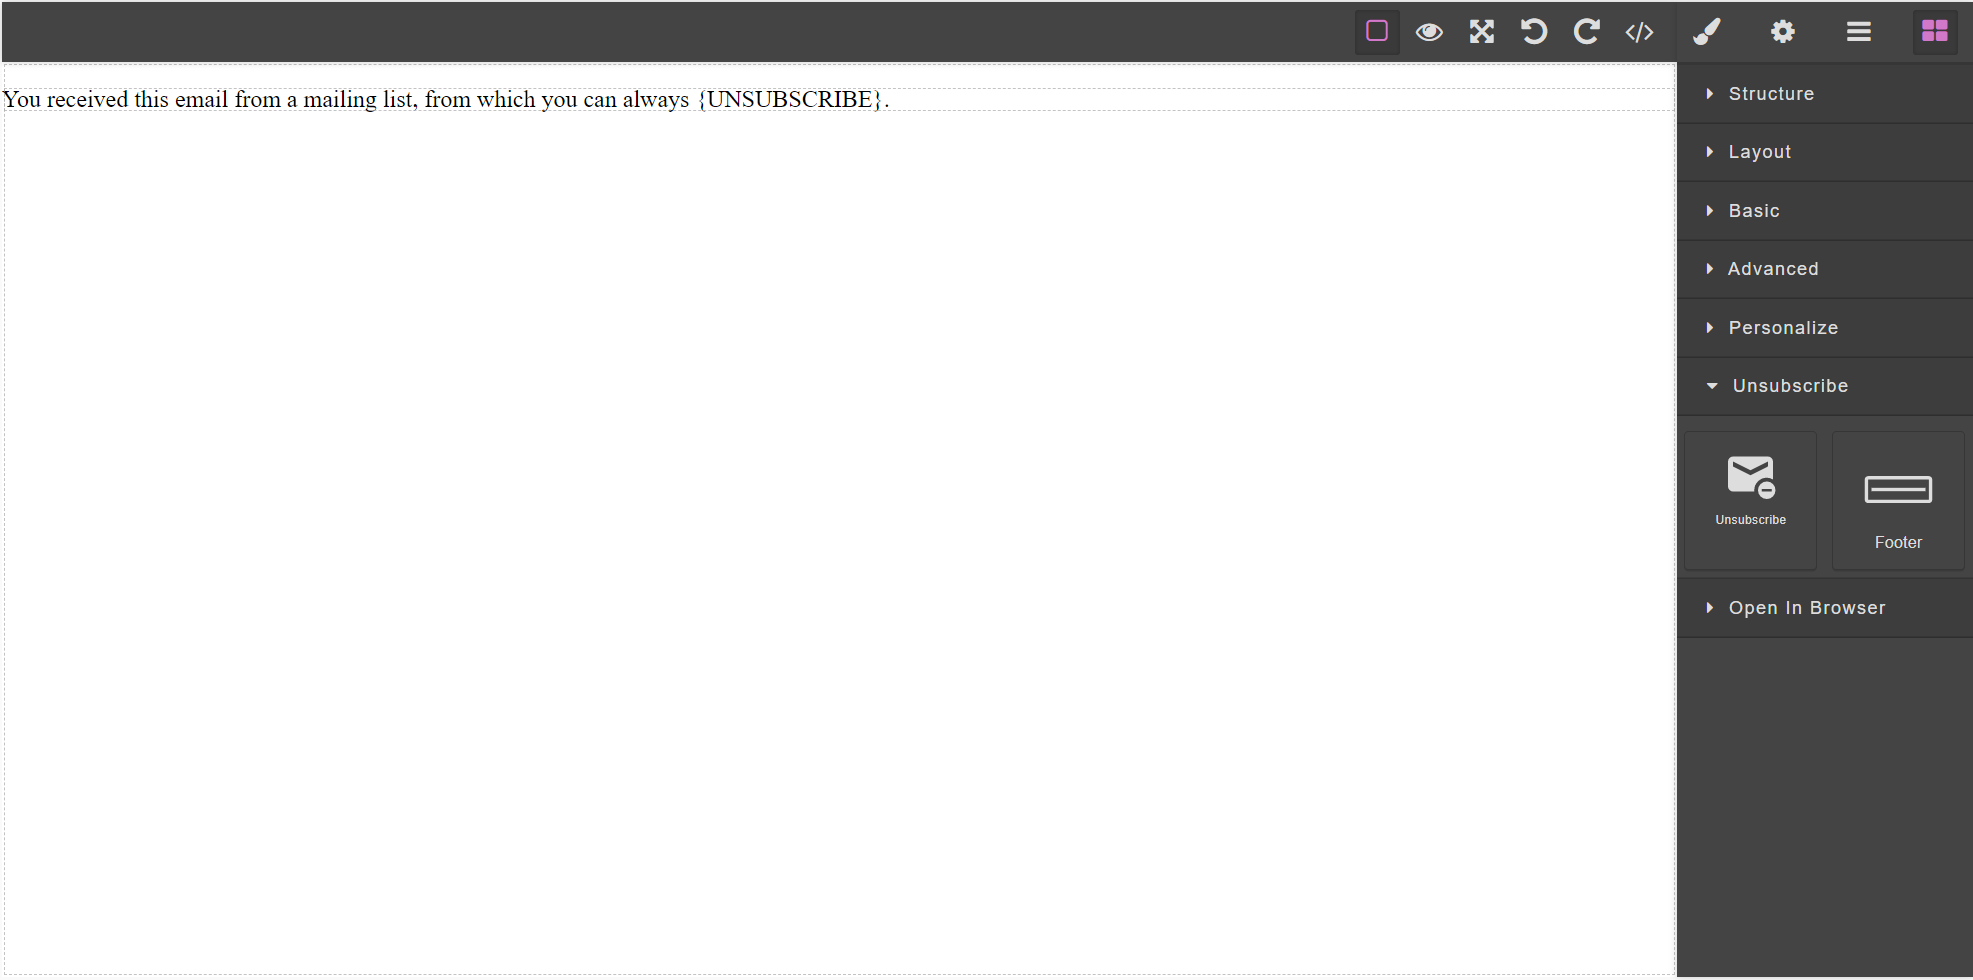
Note
The following text {UNSUBSCRIBE} contains the link that will be displayed in the delivered Email
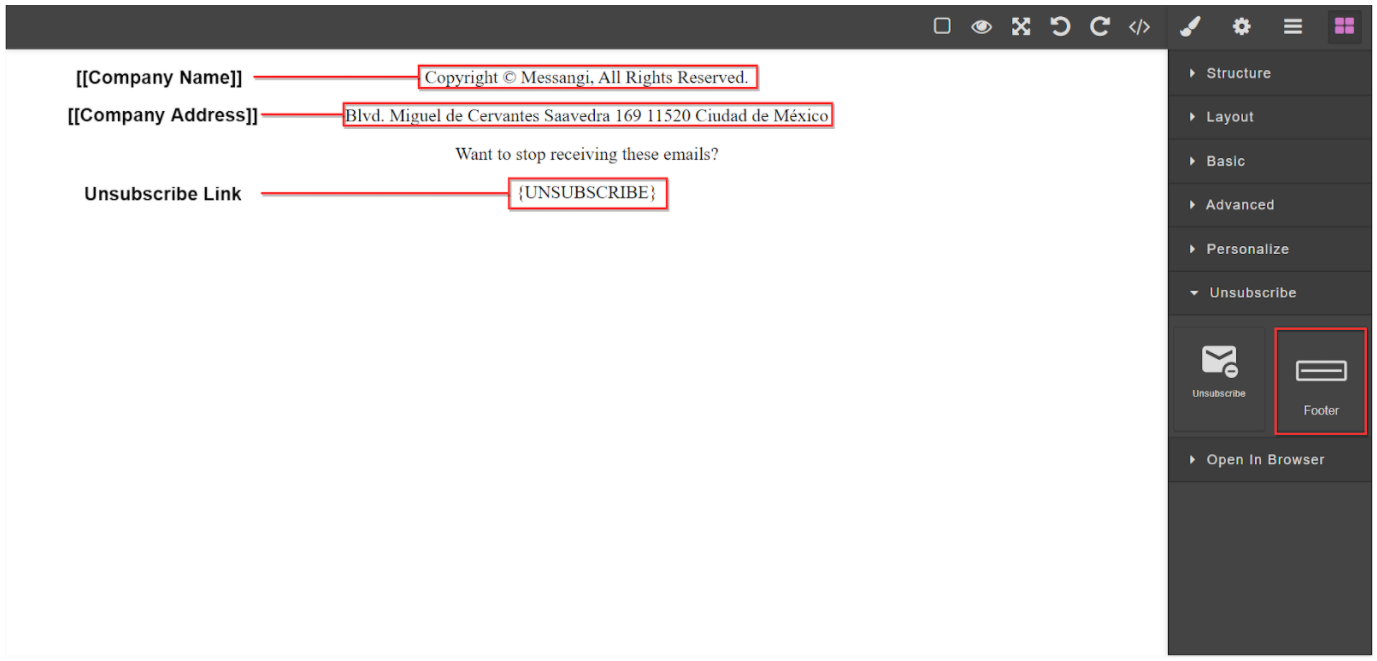
Footer Unsubscribe Block
By selecting the 'Footer Unsubscribe' block and dropping it into the Email template, it will add a pre-configured template, which contains the company's registered trademark, company's address, a message for the recipient and Unsubscribe link.
These fields are obtained from the Company Preferences section of the Platform.
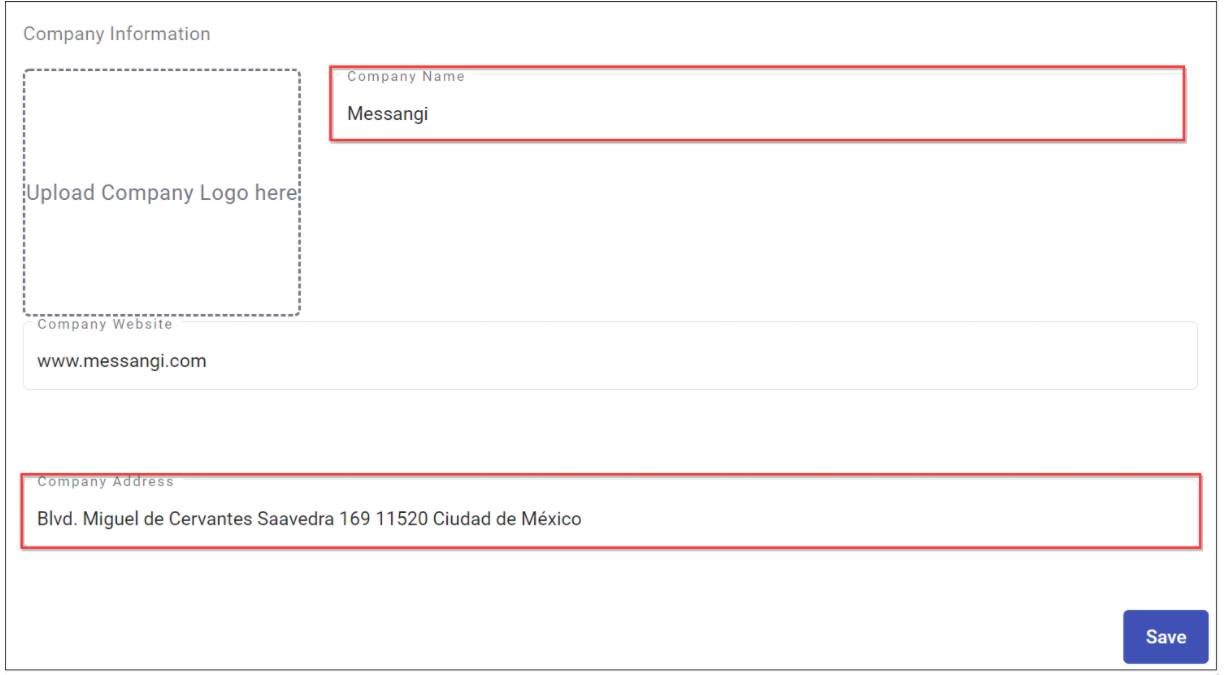 |
The 'Footer Unsubscribe' block contains the predefined keys [[Company Name]] and [[Company Address]] along with the unsubscribe link:
 |
Open in Browser
The ‘Open In Browser’ Block allows users to insert a link to the Email message in order for Recipients to open the Email content in their Browsers. This ensures that the full version of the Email is viewable to all readers.
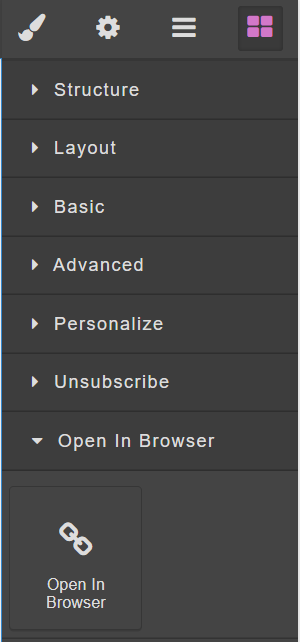 |
By selecting the Open In Browser block and dropping it into the Email template, it will insert a Link into the Email message:

When the Email is received by the Recipient, the Link will be displayed as follows:

If this Link is clicked by the Recipient, it will open the Email content in their device’s Browser.