Template
In this step, select an existing Email Template, Upload an Email HTML file, or get creative and use the Email Editor to start content from Scratch.
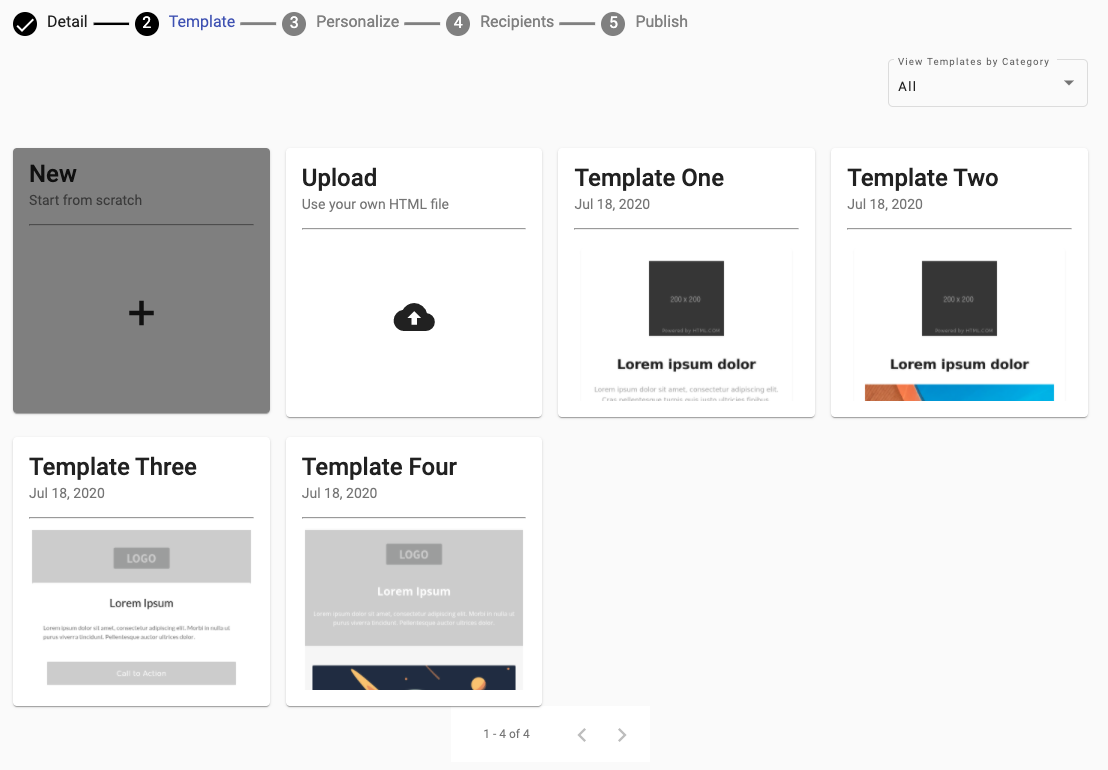
A ‘View Templates by Category’ dropdown is located in the upper right corner that Filters Templates by Category to facilitate the Search for the desired Template.
Select one of the following methods to create the Email content:
Start from Scratch: click on the ‘New’ card to create the Email Content from Scratch using the Email Editor.
Click on the Next button to continue to the Personalize step.
Select an Email Template: streamline process by selecting an existing Email Template.
If a Template has been selected, the background of the Template Card will turn grey to indicate the selected one.
In this example, Template Three has been selected to be used.
Click on the Next button to continue to the Personalize step.
Upload: to use an existing HTML file for the Email content, click on the ‘Upload’ card.
Once selected, click on the Next button.
The following upload box will appear to either drag and drop the file or click to browse from the local computer.
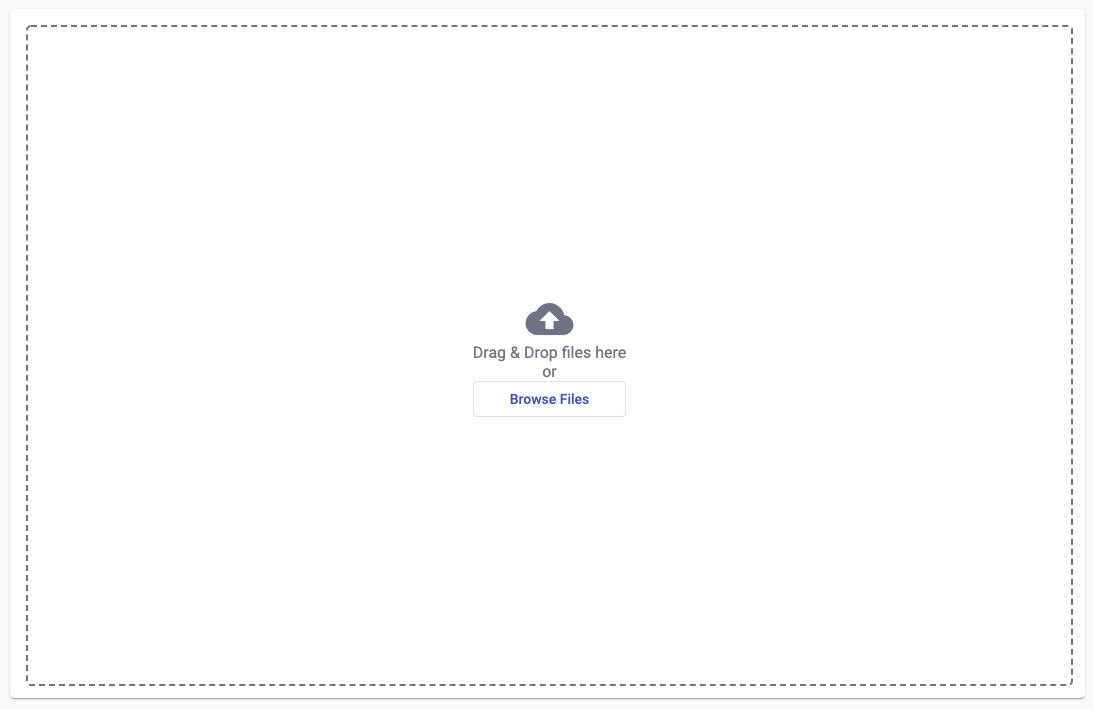
Once the file has been uploaded, it will advance to the Personalize step and display the uploaded HTML file content in the Email Editor